
Placing canola at a consistent depth across the width of the seeding tool will improve seed-to-soil contact, increase seed survival and help the crop emerge evenly. Consistent seed placement will improve overall canola seed survival across a range of conditions and produce a more uniform stand. Therefore sufficient seeder preparation, calibrations as well as pre-season and in-field inspections can help ensure the seeding implement performs well enough to meet targets for seed placement.
Important tips for best management
- A seeding tool has to be set properly to achieve the target seeding depth and seed-to-soil contact for all seed rows.
- For uniform stand establishment at your target plant density across a range of conditions, use equipment that will consistently place seed one to two centimetres (0.5 to one inch) deep.
- Find a seeding speed that provides accurate seed placement for your drill. Ideal speed varies by the drill and by soil type, amount and type of crop residue, and moisture conditions. Seeding too fast will lead to variable seeding depth and, thus, variable emergence dates and crop uniformity as well as lower overall plant populations in some situations.
- Make sure the fan speed is adequate to deliver seed and fertilizer as needed without plugging, but not so excessive that it physically damages seed which can lead to increased mortality. Proper fan speed is critical on double shoot openers to ensure proper separation of seed and fertilizer. Catch some samples at the opener to check for excessive seed cracking.
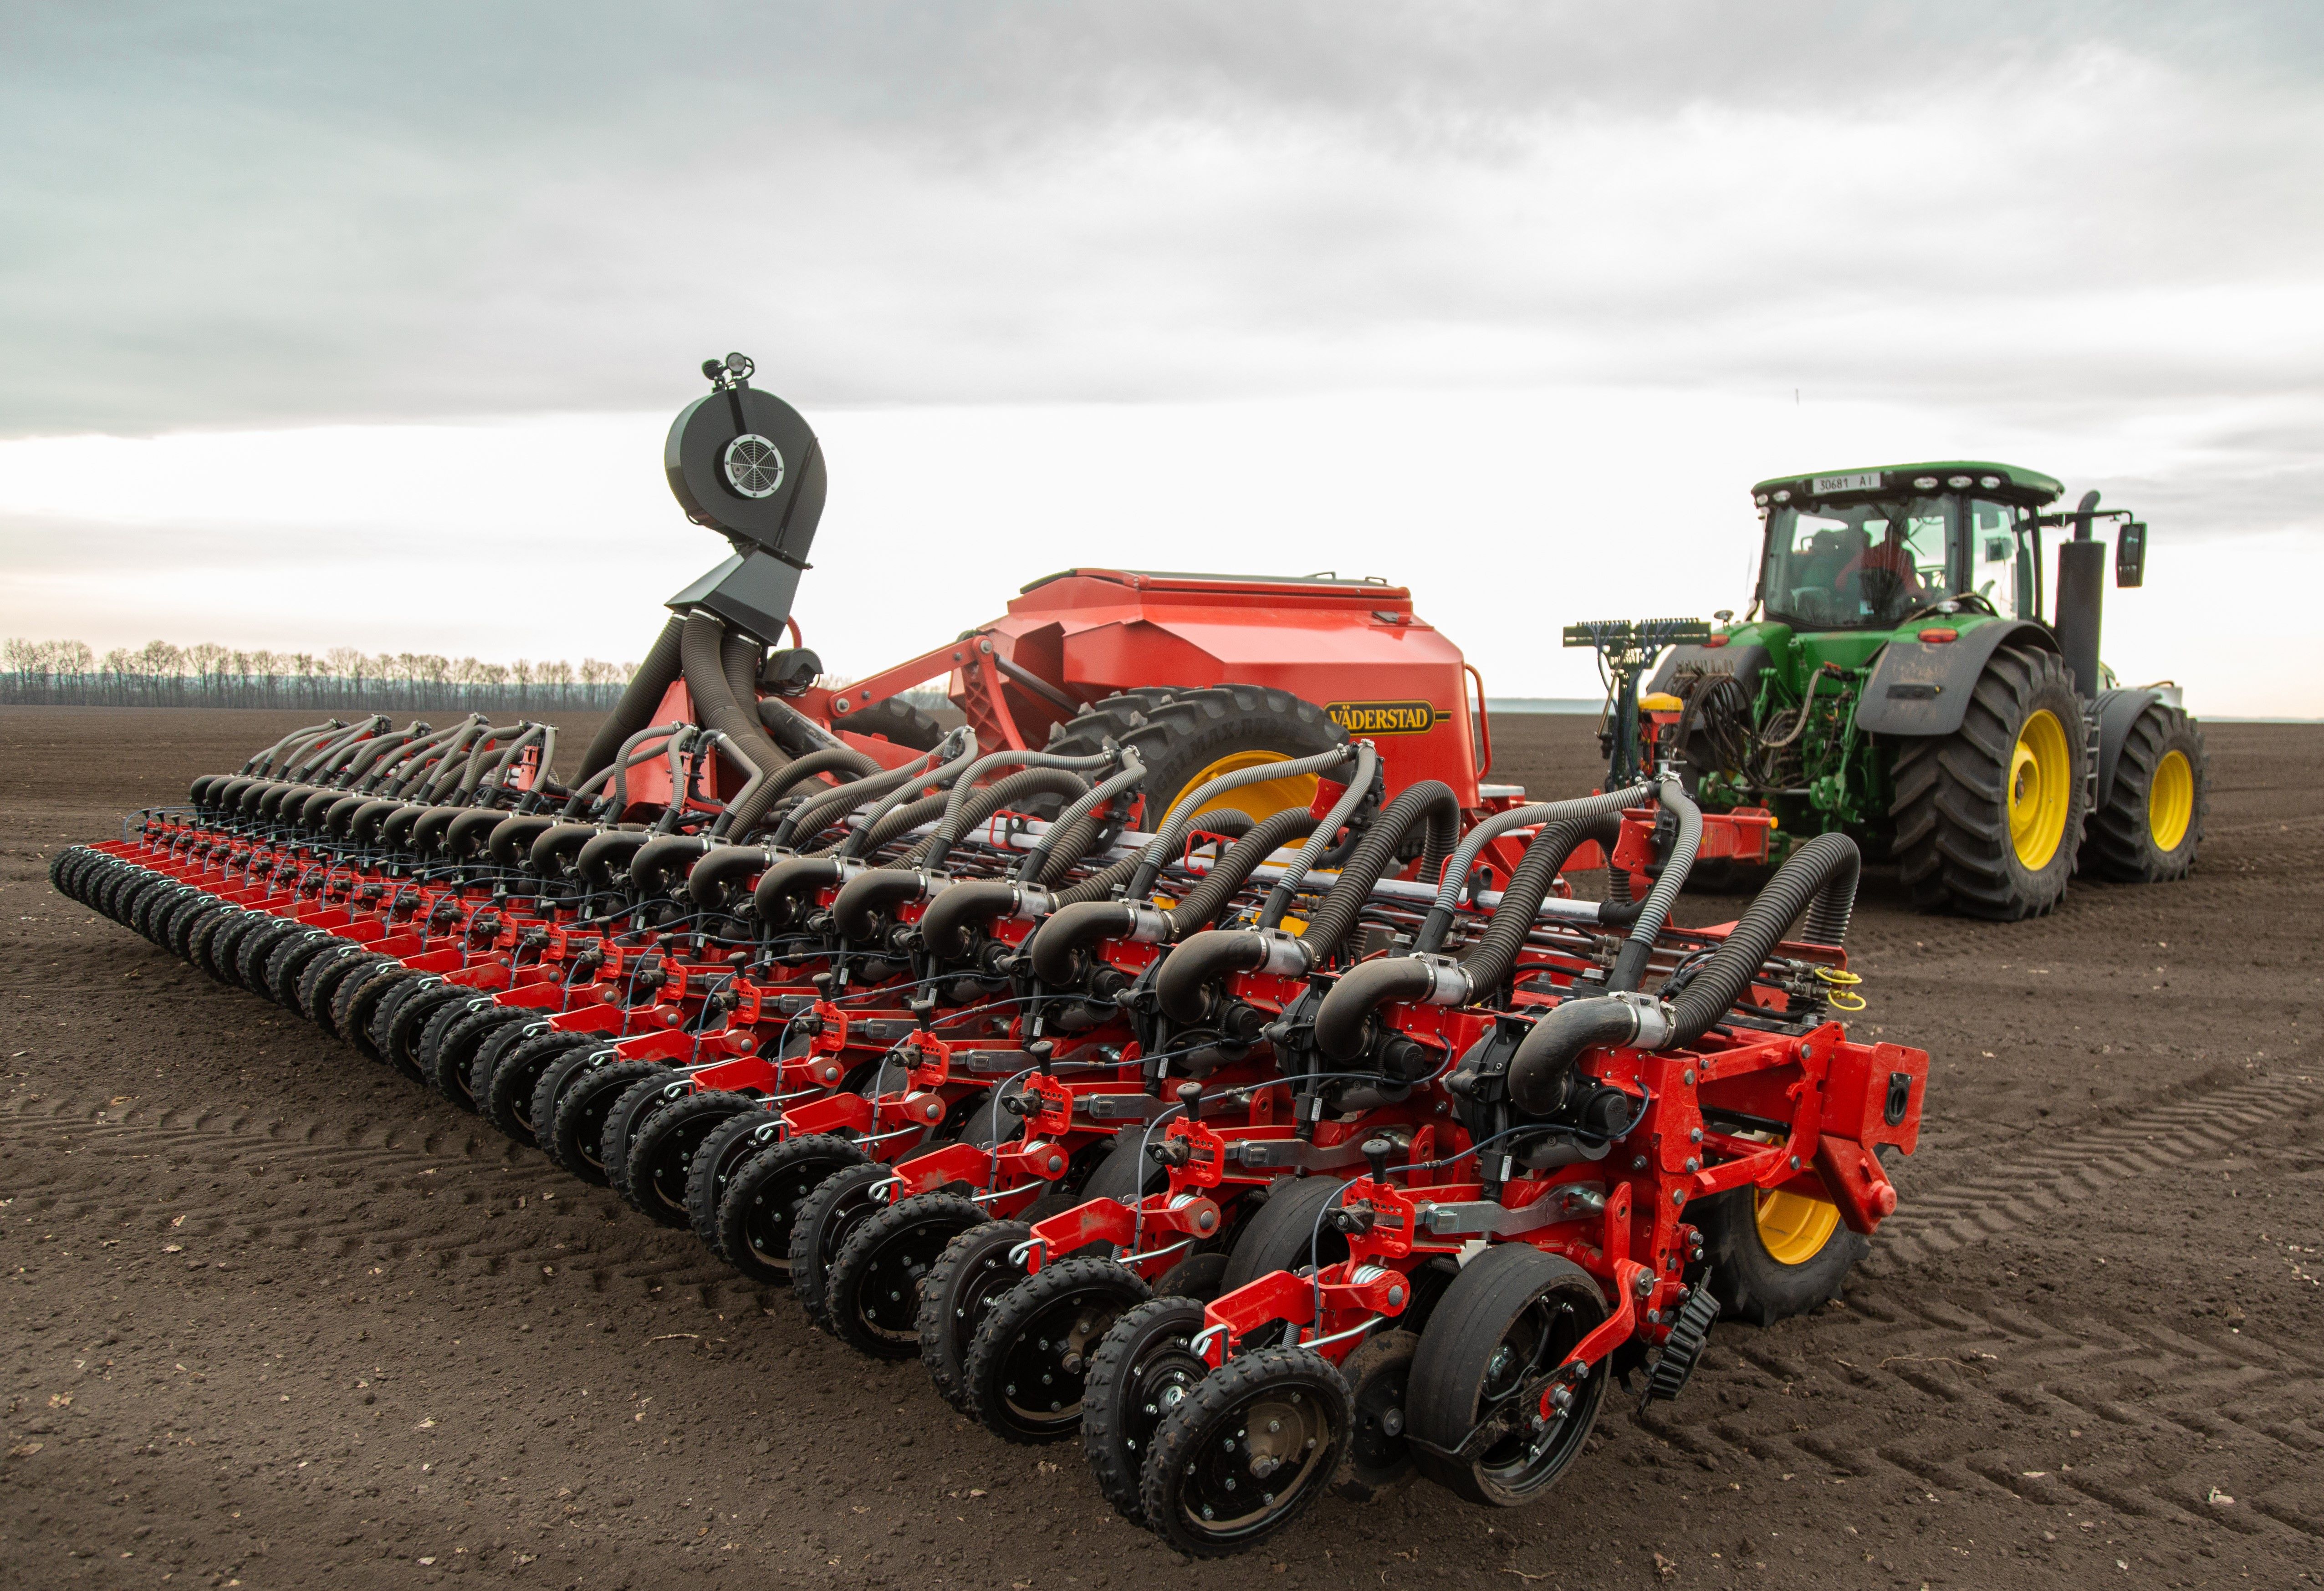
Drill preparation to ensure uniform seeding depth
Aim to have each canola seed placed into the soil at a depth close to one inch. Seeds placed within the top half inch of soil may have a fairly low rate of survival under dry conditions and seeds below a 1.5-inch depth may have less seedling vigourSeed properties that determine the potential for rapid uniform emergence and development of normal seedlings under a wide range of field conditions. More and lower emergence percentages. So, taking the time for a pre-season inspection to make sure their seeding tool can place canola seed at a uniform depth, is well worth the effort.
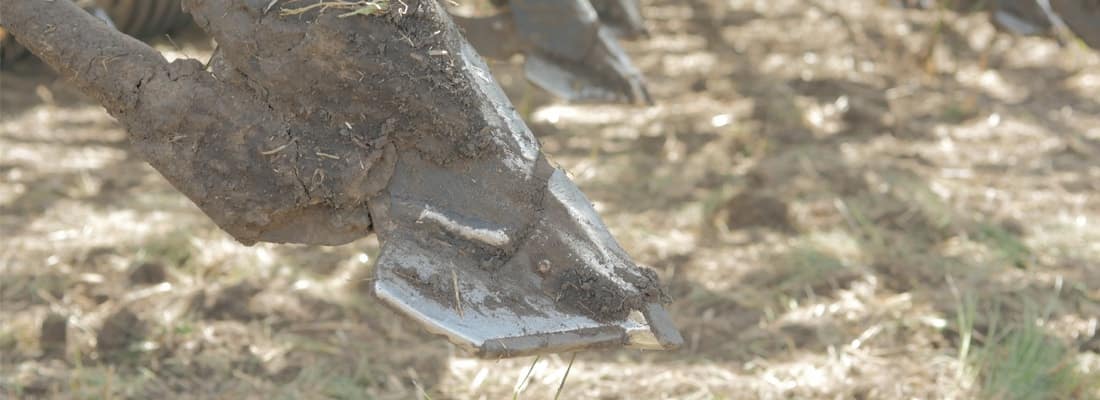
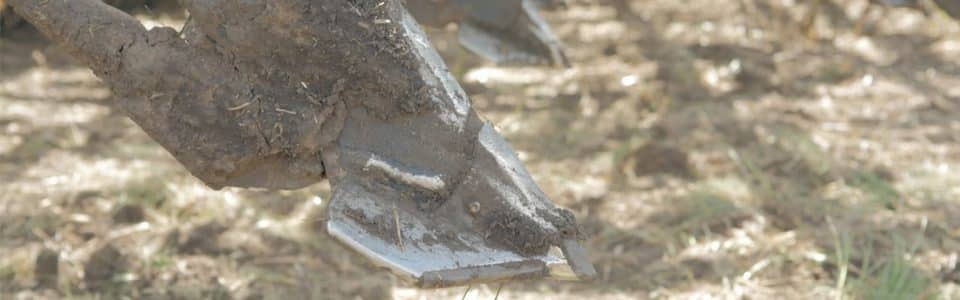
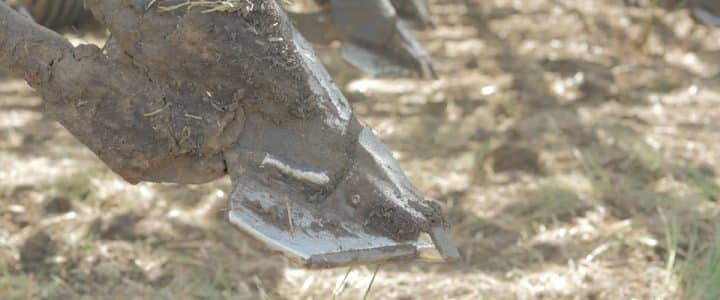
For drills with independently-mounted opener units: check that opener tips are in good shape, packer wheels are properly inflated, depth settings are the same for each unit, all tires are properly inflated and frame height is in line with specifications in the operator’s manual.
For drills with openers on a fixed frame: front-to-back and side-to-side leveling of the frame is key. Tire pressure, hydraulic cylinder seepage, inner-wing down pressure, bent shanks, worn discs and inconsistencies in opener wear are also important inspection points. With these drills, farmers can put them on a flat area, like a concrete pad, to do a pre-season assessment. Lower the openers to about one inch above the ground then inspect each opener to see if they’re in line with the others. Make adjustments as recommended in the owner’s manual. Note that each drill model has different procedures for leveling, even for different models from the same manufacturer.
Repeat these inspections again in the field to assess uniformity under load and with tires on soil.
With field checks, inspect adjacent rows from front, mid, and rear openers and repeat for the centre section and for each wing. Check more frequently at the start of seeding, then monitor as the season continues to check for significant but not otherwise noticeable maintenance issues that can occur throughout the season.
For more on the impact of seed depth on plant establishment, see the Seed Depth page.
Drill inspection and calibration
A two-step process is needed to ensure a seeding tool performs well enough to meet targets for seed placement: a pre-season inspection and an in-field inspection.
The complete pre-season inspection
Before going to the field, make sure the drill is level, the air system delivers consistent seed and fertilizer to all openers, and that all openers are in good condition.
A good first step is to check with the seeding tool manufacturer for specific adjustments and seasonal maintenance requirements. Most of these details are included in the owner’s manual.
In addition to leveling the drill, as described above, here are other important steps in the pre-season checklist:
- Check all openers for excessive wear. Some openers may wear faster than others, especially those that follow tractor or implement wheel tracks. Ask opener manufacturers how much wear is allowable before seed and fertilizer placement is compromised or before plugging is likely in heavier-textured soils. Change openers that exceed this level of wear.
- Check tire air pressure and tire size circumference. Tire circumference can differ by four to eight per cent on the same size tire. Calibrations should accurately simulate the speed of travel, give or take roughly one kilometre per hour (or half a mile per hour) as higher speeds require higher rates of product flow per unit time and there may be limitations to the system at higher speeds.
- Check that mud scraper gaps are consistent. Mud buildup on tires and packers can lift the whole drill out of the ground, and if mud-pack is inconsistent, it can throw off all other leveling efforts. Make sure mud scrapers on tires, disc wheels and packers have the same gap settings.
- Look for excess wear on bushings at pivot points. Worn bushings can cause wings to sag, reducing the consistency of seed depth across the width of the seeding tool.
- Check all bearings on rollers and auger delivery systems for possible damage. The seed coating on canola can sometimes leave a residue that can penetrate sealed bearings and may cause drag and bearing wear. Bearing wear can lead to slow or inconsistent rotation of the seed delivering system, causing inaccurate or variable seeding rates.
- Check auger flighting and/or fluted roller delivery systems. Look for wear and possible build-up of seed coatings, which can affect accuracy of seed delivery rates.
- After running the air delivery system, check at the end of each seed boot for seed and fertilizer. If you have enough plastic cups, put one at the end of each opener. Weigh the contents of each if you want a precise comparison. If amounts are uneven, check metering system components and manifolds for wear or blockages. This is also a good time to check the seed for any cracking due to obstructions or too high a fan speed.
- Evaluate air stream flow as it relates to fan speed. To do this, take the hose off the last opener on the outside wing and tie the hose to the frame. Check the air tank manual or with the manufacturer for correct procedures for your drill and tank system. Power up the air delivery system to operating RPMs. If seed and fertilizer are propelled less than 30 centimetres (12 inches) or more than 60 centimetres (24 inches) from the end of the tube, adjust fan speed or air dampers at the fan outlet to keep seed and fertilizer output within this range. This will reduce seed bounce, damaged seed or plugging at the seed boot outlet.
- Check air tank seals to make sure they’re still flexible and provide a complete seal. Don’t leave air tank lids compressed over winter as this may damage the seals.
- Do a closer inspection for air leaks. Apply a mix of water and dishwashing soap around hose connections, manifolds, metering systems and air tank seals. Bubbling of the mixture indicates an air leak. Tighten or readjust seals to stop the leak. Air leaks can lead to reduced pressurization or reduced air flow in parts of the delivery system, which can reduce the accuracy of seed and fertilizer rate and placement.
- Give all product delivery hoses a quarter turn to reduce wear spots. This will also reduce drag within the hose, which helps maintain accurate seed delivery rates. Check for cracks and spots where hoses are worn through. Replace hoses that are damaged.
- Check seed monitor sensors. Buildup of seed coatings on monitor sensors can affect accuracy. Also, make sure the number of pulses per kilometre (mile) is set properly. Note that tire size, tire pressure and soil conditions can influence sensor performance.
Once seeding starts, farmers are encouraged to do in-field inspections to double-check the depth settings. Operating under load may change operating depth, especially front to back. In-field inspections will also show how much soil is thrown over the front-row openers. Slowing down can reduce these effects.
In-field inspection
Openers, metering systems, and delivery components may be in good shape and the drill may be perfectly level, but factors in the field also influence seed placement. Soil type and soil moisture can influence how much soil rear gangs throw over front furrows, which buries front-row seeds deeper than the seed in other rows. Growers need to make sure the drill is performing as expected to have the same depth of soil over each seed.
For this test, get a simple seed depth tool. Then follow these steps and watch the video above:
- Start about 45 metres (150 feet) behind where you stopped the seeder or walk over to the previously seeded pass. At one of these two locations, the drill would have been moving at full speed. A seed measurement at these locations should accurately reflect drill performance in terms of seed and fertilizer placement.
- Use a seed depth tool to slowly scrape away soil until you reach the bottom of the seed row furrow or where the opener normally places the seed.
- Find the seed. Make sure it’s being placed at the bottom of the seed furrow. If it’s bouncing out, the operator may have to slow the fan speed or slow the seeding speed to place seed where it should be.
- Rest the tip of the seed depth tool at the place you found the seed. Eyeball the depth of soil directly over the area you found the seed.
- If the same opener is also placing a fertilizer band, make sure the fertilizer is where it should be. If the opener is designed to provide seed and fertilizer separation, make sure that separation is occurring.
- Check a number of rows. Make sure the drill achieves the same depth across its whole width and front to back. Again, seeding speed and opener type will influence how much dirt is thrown from one row over another. If all seed is deeper than expected, adjust the drill depth settings.
If consistent seed and fertilizer placement at the targeted depth cannot be achieved through overall drill depth setting adjustments, try making one of the following adjustments and check again.
Check packers. Speed of the tool can affect performance of the packer. If seeding speed is too fast, packers may not completely seal the seed row. If opener width is close to packer width there is potential for packers not to do the job. Packer shape and packer pressure can influence seed depth and seed-fertilizer separation as well. Improper on-row packing can also result in poor seed to soil contact and increased mortality, especially in dry springs. With newer drills, adjust packing pressure and frame pressures to help in seed placement and proper packing. However soil conditions and high packing pressure can lead to crusting issues in some situations so it is important to monitor and adjust accordingly. Consult your manufacturer for recommendations.
Check ground speed and fan speed. Also, checking for seedling emergence patterns can assist in diagnosing seed placement issues for future years.
Seeding speed
There is no single best seeding speed for good seed and fertilizer placement. Each drill is different, and soil conditions and soil type influence performance. If a drill is not performing as expected, slow down by 1.5 kilometres per hour (one mile per hour) and check furrows again using the instructions under the heading above to see if placement has improved. Keep adjusting speed until ground speed achieves accurate seed and fertilizer placement for the drill.
Be prepared to alter speeds as soil conditions change. If higher seeding speeds are needed to cover the required acres, recognize that seed survival will likely be reduced and increase seeding rates accordingly.
Be aware of the fan speed. Higher application rates of seed and fertilizer combined with faster seeding speeds often require higher fan RPMs. This can increase seed damage and contribute to uneven seed distribution and seed bounce out of the seed row.
Calibrate the drill for each seedlot
Seeding equipment must be calibrated to make sure it delivers the desired seeding rate. Consult the operator’s manual for recommended calibration instructions, or utilize the following procedure:
- Measure out 30.5 metres (100 feet) in the field.
- Using a tube sock strapped over the hose end, collect the seed from several drill runs over this distance. Determine the total weight in grams.
- Calculate the seeding rate (in metric or imperial).
Metric
Grams of seed ÷ the number of drill runs ÷ row spacing (centimetres) x 34.14 = seeding rate (kilograms per hectare)
Imperial
Grams of seed ÷ the number of drill runs ÷ row spacing (inches) x 12 = seeding rate (pounds per acre)
For example:
If you collect 18.75 grams from five drill runs, then fill in the formula as follows:
18.75 grams ÷ five drill runs ÷ 23 centimetres row spacing x 34.14 = 5.6 kilograms per hectare
18.75 grams ÷ five drill runs ÷ 9 inch row spacing x 12 = 5.0 pounds per acre
Adjust the seeder’s metering system and recalibrate until the target seeding rate is achieved. Then be sure to record the settings, as well as the thousand seed weightThe weight (in grams) of 1,000 canola seeds from one seed lot. More (TSWThe weight (in grams) of 1,000 canola seeds from one seed lot. More) of the seedlot and the seeding rate. The drill should be calibrated for each seedlot to reflect seed size differences. This also provides a failsafe to avoid improper seeding rates resulting from damage or wear to components of the metering system over time.
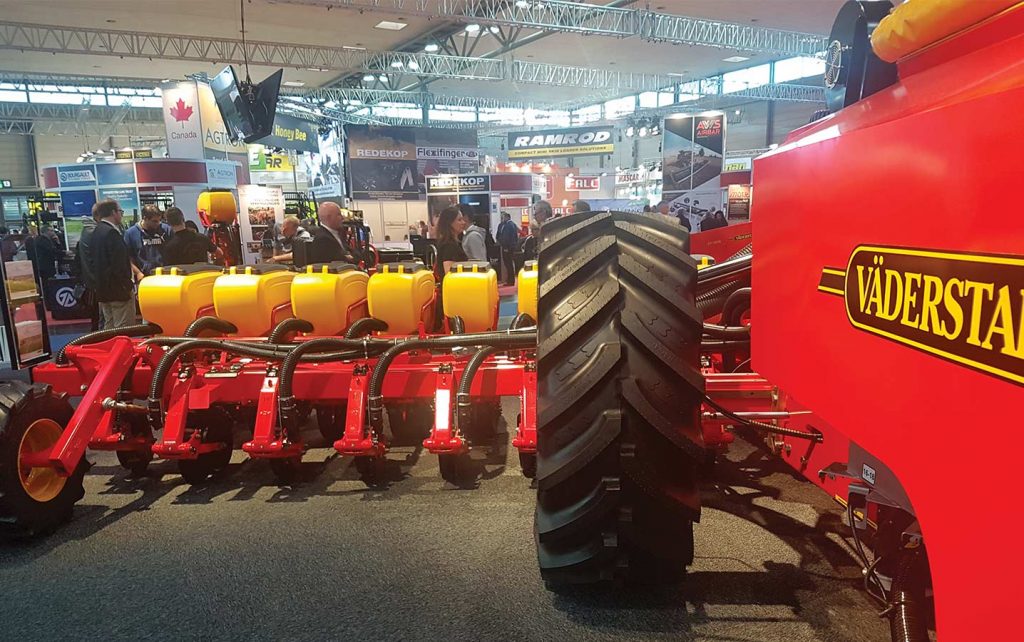
Planters
Overview
Consistent and uniform placement of canola seeds at the optimal depth and spacing improves stand establishment 1. However, this can be difficult to achieve due to the small size of canola seeds and limitations in traditional seeding drills.
As noted in a Canola Digest article, planters are engineered for precise seed depth and seed spacing,2 which has also been noticed by farmers. In addition to their interest, some Canadian farmers are even trying out precision planters to seed their canola 3, 4, 5, 2. The canola seeding rate trials conducted within the Manitoba Canola Growers On-Farm Research Program also included sites seeded with air drills and planters. Planter technology typically used in corn and soybean features singulation metering that places one seed after the other in the row to achieve a uniform plant stand. When using a planter to seed canola, several objectives need to be considered to achieve a successful planting operation 6.
Seeding rate
In a planting operation, accuracy is a function of reducing the number of skips (large gaps between plants), doubles (two plants placed beside each other), and achieving a consistent distance between plants in the row. Singulation metering has potential to deliver greater evenness in spacing between seeds 6.
The Canola Council of Canada recommends targeting a plant stand of five to eight plants per square foot or 50-80 plants per square metre to achieve maximum yield 7. However, with average seed survivability is around 50-60 percent 8. So, if a method can consistently provide a significant increase in seed survivability, there’s potential for a reduced seeding rate to be used and still attain the target plant stand of five to eight plants per square foot.
The distribution of these plants is impacted by seed spacing. Some 2019-2023 research concluded that row spacing of 30cm (12 inches) or less was required to maximize canola yields 9. Similarly, the Developing canola agronomy with precision planters study reported that 12 inch spacing increased seedling emergence and plant stand density compared to the conventional air drill and precision planter with 20 inch spacing — as long as seeding rates were higher than 20 seeds/m2 10.
Optimal seeding rate and row spacing together help achieve quicker vegetative ground cover and maximize yields11.
Canola field trials conducted by Väderstad in Alberta from 2021-2023 reported a narrower acceptable range in seedlings per metre for the planters than the air drills, when seeding rates based on 20 seeds planted per meter row and row spacings of 10, 12, 14 and 15 inches were used 12.
Seed size
Seed singulation is achieved by metering discs that feature evenly spaced holes in a circular pattern which separate seeds individually. Keeping these discs clear of impediment is important in maintain seed metering accuracy. Since smaller canola seed sizes have more potential to cause plugging, a larger seed lot with consistent seed sizes is recommended 6. Another alternative could be using pelletized seed, such as Pelta, as it is designed to optimizes seed size and uniformity for better planter performance 13.
Planting speed
While lower seeding speeds (four compared to six miles per hour) can have a better impact on canola emergence for seeding drills 14, speed can also impact planters.
When operating a planter, ensuring a high degree of singulation accuracy and consistent seed depth across the entire field is a priority. It is therefore imperative that row units are kept as level as possible to the ground during planting. Factors that can reduce the levelness of a row unit during operation include heavier soil, lumpy residue from the previous crop and rocks. Planters are typically able to analyze singulation accuracy in the monitor which allows the operator to adjust their operating speed as necessary 6.
Field conditions
One of the challenges with planters can be making them work in the no-tillage or direct-seeding systems that are common in Western Canadian agriculture, since planters will see improved performance in no-tillA type of tillage management technique where soil is undisturbed from harvest through planting, seeding with narrow knives/hoes or discs. More if stubble is long and chopped residue is kept to a minimum 2.
Fields with lighter soils and optimal residue levels may be able to conduct zero-tillA type of tillage management technique where soil is undisturbed from harvest through planting, seeding with narrow knives/hoes or discs. More planting operations to preserve soil moisture and conserve soil health. But in some field conditions, farmers would have a hard time maintaining row unit levelness without using a pre-seed tillage operation. Fields with medium to high amounts of crop residue can also impede the row unit operation of a planter and cause hairpinningWhen chaff residue falls into the seed furrow during seeding, causing poor seed cover and poor furrow closing. It can be the result of residue from the previous crop not being spread evenly enough. More. Row cleaner settings may need to be adjusted depending on type, density and dampness of crop residue 6.
Closing wheels
Once the seed has been placed in the ground, closing wheels behind the planter row unit deliver soil back into the seed row to ensure soil is filled properly around the seed and packed firmly for good seed to soil contact. The type of closing wheel used and aggressiveness of closing wheel operation need to be adjusted depending on soil type and conditions 6.
Hydraulic downforce
Planters feature hydraulic downforce pressure to help maintain planter operation in rough conditions. It may therefore be necessary to adjust downforce pressure in fields, or areas of fields, which feature conditions that affect planter singulation accuracy 6.
Fertilizer placement
Since planters aren’t currently engineered to be a one-pass system (for planting and applying fertilizer), they require additional logistical considerations in the spring 2. Since canola has significant nutrient requirements, especially for nitrogen 15, a separate application may be required if equipment fertilizer capacity is less than ideal for timely planting operations 6.
Footnotes
- Gan, Y. & May, W. 2013. Improving canola establishment and uniformity across various soil-climatic zones of Western Canada. Available on the Canola Research Hub.[↩]
- Ort, N. 2021. Precision planting in no-till systems. Canola Digest.[↩][↩][↩][↩]
- Whetter, J. 2016. Aim for consistent seed depth. Canola Digest- Science Edition.[↩]
- Whetter, J. 2018. Tech for 2018. Canola Digest[↩]
- Moran, M. 2020. Ontario growers test canola-soybeans double crop. Canola Digest[↩]
- Kris Cherewyk, Väderstad agronomist, Personal communication, March 2025[↩][↩][↩][↩][↩][↩][↩][↩]
- Shirtliffe, S. & Hartman, M. 2009. Determining the optimum plant density in canola. Available on the Canola Research Hub.[↩]
- Canola Watch fundamentals. 2025. 8 best practices to maximize canola seed survival. Available on the Canola Watch website.[↩]
- Shirtliffe, S., Gulden, R. & Geddes, C. 2023. How does in-row seed spacing and spatial pattern affect canola yield? Available on the Canola Research Hub.[↩]
- Coles, K, Lewis, B. & Gretzinger, M. 2019. Developing canola agronomy with precision planters. Available on the Canola Research Hub.[↩]
- Shirtliffe, S., Gulden, R. & Geddes, C. 2023. How does in-row seed spacing and spatial pattern affect canola yield? Available on the Canola Research Hub.[↩]
- Väderstad research, 2021-2023[↩]
- Hein, T. 2022. Pelta makes seed uniform for planters. Canola Digest.[↩]
- Blackshaw, R. 2013. Management practices optimum canola emergence. Available on the Canola Research Hub.[↩]
- Canola Watch fundamentals. 2025. How much fertilizer does canola need. Available on the Canola Watch website.[↩]