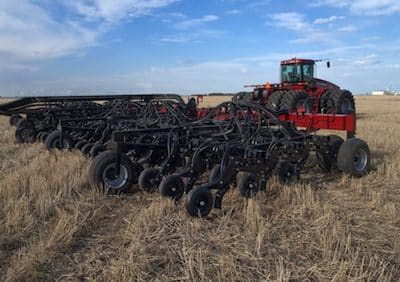
Consistent seed placement across the width of the drill is an important step in plant establishment. This checklist will have your drill primed and ready to perform.
1. Level the drill end to end and front to back. Find a flat, ideally a concrete surface, and check old and new drills to make sure each opener sits at the same depth. Level according to the manual, or hire someone who specializes in this job. Once set, check numerous runs again in the field. Seeding depth consistency can change under draft pressure. This may be easier to check when seeding peas or wheat — seeds that are easier to find in the seed trench. How to check seed depth. You may also enjoy the Saskatchewan grower’s comment in this Canola Digest article.
2. Check openers for wear. Worn openers, especially double shoot openers, may not provide the seed and fertilizer separation and consistent seed depth required for a vigorous uniform stand. Openers worn less than others may be worn to a point where they’ll have poor penetration, give poor seed placement and have poor seed/fertilizer separation.
3. Check hoses for cracks and wear. Give all product delivery hoses a 1/4 turn to reduce wear spots inside of hose delivery systems. This will also reduce drag within the hose and assist in maintaining accuracy of seed delivery rates.
4. Fill tires to the same pressure. Also check tire size circumference if you want to get really particular. The tire circumference can differ by 4-8% on the same size tire. These will influence depth control.
5. Inspect packers. Replace broken or worn packers at the beginning of the season. And then adjust packing pressure from field to field and as conditions change.
6. Check all bearings on rollers and auger delivery systems. The seed coating on canola will leave a residue that can penetrate sealed bearings and may cause drag and bearing wear, therefore slowing the rotation of the seed delivering system and causing inaccurate seeding rates.
7. Do a sock test. Remove one hose from the opener and tape a tube sock to the end to collect seed. Or, if simple enough, put a sock over the opener itself (as shown in the photos below). This will show what damage, if any, may have occurred as seed traveled through the drill. This can be done in the yard ahead of seeding or, to avoid wasting seed on the ground, in the field. Count damaged seeds carefully. Even though the yellow split seeds will show up vividly in the sample, they may only represent a couple percent of seed. However if excessive damage has occurred, growers can lower fan speed or add manifold buffers to reduce seed breakage. By removing the sock, you can also check air stream flow as it relates to fan speed. If seed and/or fertilizer travel are propelled either less than 12″ or more than 24″ from the end of the tube prior to dropping, adjustment can be made to either fan speed or air dampers at the fan outlet to regulate seed and fertilizer output and help reduce seed bounce, damaged seed or plugging at the seed boot outlet.
8. Inspect moving parts such as shank bushings, disk bearings, meter rollers, packers and packer bearing for wear.
9. Check air tank seals. Proper product flow requires pressure to be equalized between the inside of the tank and the tubes delivering product to the drill. Loss of tank pressure will slow flow of product out of the tank due to back pressure from higher pressure in the tubes. While checking for air leaks, also look at hoses and manifolds. The sock test and air flow test at the openers will indicate a potential problem.
10. Test electronic controls. Fix any wiring issues now before you hit the field.