
This is a good time for a drill check up. Here are a few pointers:
Level the drill from side to side and front to back. Find a flat, ideally a concrete surface, and check old and new drills to make sure each opener sits at the same depth. Level according to the manual, or hire someone who specializes in this job. Once set, check numerous runs again in the field. Seeding depth consistency can change under draft pressure. This may be easier to check when seeding peas or wheat — seeds that are easier to find in the seed trench. How to check seed depth. You may also enjoy the Saskatchewan grower’s comment in this Canola Digest article.
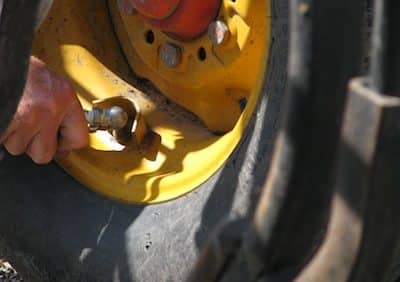
Check each opener. Even those openers worn less than others may be worn to a point where they’ll have poor penetration, give poor seed placement and have poor seed/fertilizer separation.
Check shank trips. Worn trips will result in poor penetration and may inconsistently trip in and out of the ground, which will result in variable seed depth placement.
Inspect moving parts such as shank bushings, disk bearings, meter rollers, packers and packer bearing for wear. Also inspect fixed parts such as hoses, tank gaskets and manifolds for wear. Replace if worn past recommendations.
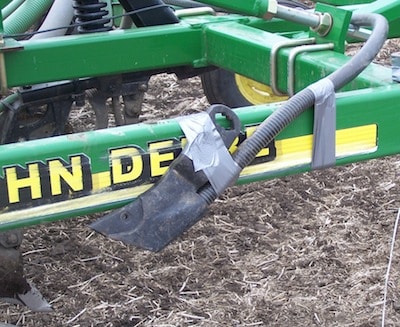
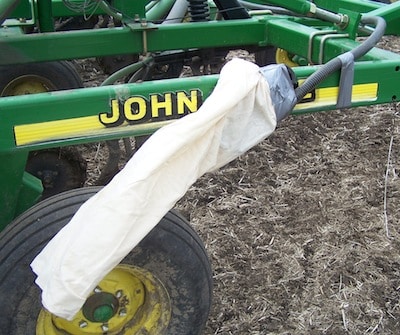
Do a sock test. Remove one hose from the opener and tape a tube sock to the end to collect seed. Or, if simple enough, put a sock over the opener itself (as shown in the photos below). This will show what damage, if any, may have occurred as seed traveled through the drill. This can be done in the yard ahead of seeding or, to avoid wasting seed on the ground, in the field. Count damaged seeds carefully. Even though the yellow split seeds will show up vividly in the sample, they may only represent a couple percent of seed. However if excessive damage has occurred, growers can lower fan speed or add manifold buffers to reduce seed breakage.
Adjust for soil conditions. Even with all of the above taken care of, field performance is what matters most. Ideally, packer wheel, gauge wheel, opener depth and down pressure settings will be adjusted for soil conditions and for the crop.
Turn on all electronics to make sure they work properly and are calibrated.
—Thanks to Blaine Metzger with AgTech Centre in Lethbridge for his help with this article.